What are you looking for?

Installing expanding exhaust packing involves two separate jobs: positioning the specified fiber charge before the silencer is closed, and confirming that the material releases as intended during initial heating. A sheet that fits neatly around the core has passed an assembly check, not a complete service test.
The BSTFLEX Exhaust Baffle Silencer Packing Sheet contains compressed, texturized continuous-filament glass yarn held by low-melting-point stitching. The compact form assists handling; the stitching provides a temporary restraint that releases with heat.
This guide provides an installation-planning workflow for suitable repackable absorption silencers and OEM assemblies. Use the instructions supplied for the actual sheet and exhaust system to establish dimensions, filling quantity, fastening details and heating conditions. It is not a procedure for opening a sealed muffler or changing its internal design.

Work on a cold exhaust and prevent accidental engine starting or equipment operation. Before removing the old filling, record the positions of the core, end fittings, metallic liners and retaining components. Photographs are useful when the packing hides a layer that must be refitted.
Check the exposed assembly for loose joints, distorted parts, damaged perforations and edges that could catch the replacement sheet. Resolve any damage using the exhaust manufacturer's service instructions. Do not alter the perforations or remove internal parts merely to make the replacement material easier to install.
Handle fiberglass with suitable gloves, protective clothing and eye protection, and control dust according to the actual material safety data sheet and workplace assessment. Keep offcuts contained rather than shaking fibers loose. Follow the site's cleaning and disposal procedure for used packing, which may contain service deposits.
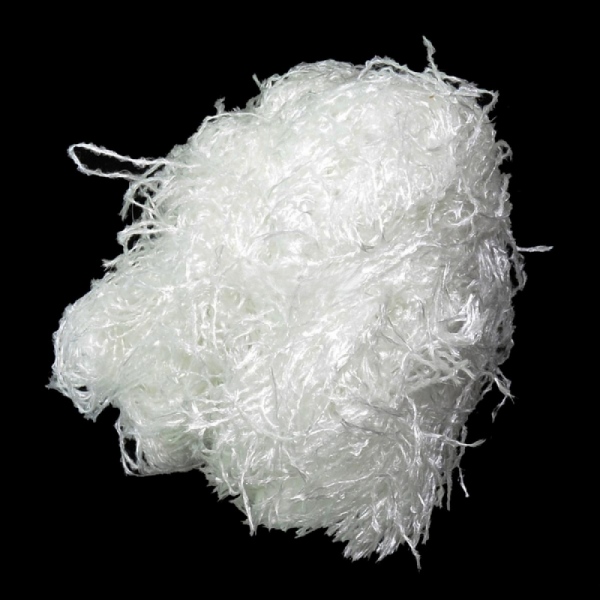
A frequent question in expanding exhaust packing installation is whether the visible thread should be removed first. For the compressed, stitched construction described here, do not strip out the thread as a preparation step unless the supplier's instructions specifically require it.
Distinguish packaging ties from incorporated stitching. Packaging may need to be removed, while the stitches are part of the supplied sheet structure. Where their roles are unclear, resolve that before cutting or wrapping.
Also avoid adding replacement stitching with an unspecified thread. Re-sewing a damaged piece can change the restraint being evaluated. Set damaged material aside and agree a disposition with the supplier instead of creating an unrecorded variation on the assembly line.
The underlying mechanism is explained in how heat-released fiberglass sheets fill a silencer. Installation should preserve that intended behavior, not undo it before assembly.
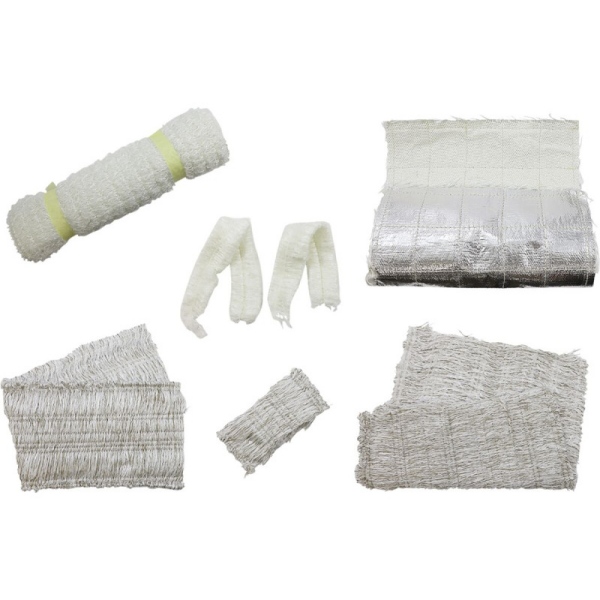
Mark the axial coverage and the dimension taken around the core on the cutting layout. In a common wrapping arrangement, sheet width follows the effective packed length of the silencer. Confirm that orientation for the supplied construction rather than assuming the piece can be rotated without review.
Cut with suitable tools using the agreed pattern. Avoid pulling material apart to separate a piece or stretching it to reach an end fitting. Inspect the cut edges and remaining stitching before moving the piece to the assembly station.
Verify the specified charge after cutting. Use the agreed weight basis, distinguishing dry glass fiber from the complete stitched sheet. Keep offcuts separate so their weight is not counted as installed material.
For dimensions and quantity calculations, use the expanding exhaust packing sheet sizing and filling-weight guide. Once the cut piece is approved, installation should reproduce that layout rather than recalculate the charge by feel.
Use the specified fiber quantity and wrapping layout, not an "as tight as possible" rule. Aim for a supported, even assembly that can be inserted and closed without changing the agreed material charge or damaging the sheet.
Support the core while positioning the material. Work along the packed length so the sheet remains aligned instead of pulling one end tighter to correct the other. Check the seam or overlap along its full length, not only at the end visible to the operator.
Avoid twisting the sheet into a rope or cinching it into narrow bands. Conversely, do not remove fiber to create arbitrary clearance on the assumption that expansion will replace the missing quantity. The initial arrangement and final filling requirement belong in the same installation specification.
For an offset core or shaped shell, follow the layout for each packing region. Do not concentrate the entire sheet on the easiest side to reach and assume heat will redistribute it through every internal restriction.

A temporary handling aid holds the assembly during insertion. A permanent retaining component remains in the silencer. Neither should be selected simply because the material is available at the workbench.
Where tape, ties or an adhesive are specified, identify their type, position, quantity and whether they are removed, released or retained. Do not substitute a permanent high-temperature binding for a temporary restraint without reviewing the resulting construction.
The same principle applies to a core-side metallic layer or packing screen. Keep the arrangement required by the exhaust drawing unless a revised assembly has been validated. Selecting an expanding sheet does not, by itself, authorize removal of another layer.
For production instructions, a marked photograph showing each permitted restraint is more useful than a general note to "secure the packing." It also gives incoming replacement parts and operator training a common reference.
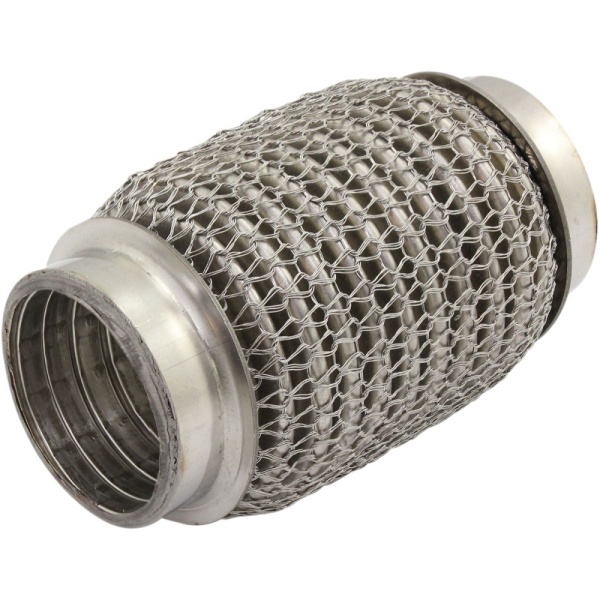
Trial the packed core through the actual insertion route. Watch for the leading edge catching, the sheet sliding along the tube or an overlap folding back. Record where resistance occurs rather than using the final fasteners to force an unexplained fit problem closed.
If the assembly will not fit, compare the core and liner dimensions, sheet orientation, overlap and specified charge. Correct the cause. Random trimming may make the shell close while creating a different packing specification.
| Before-Closure Check | Accept Against | Stop and Review When |
|---|---|---|
| Material and quantity | The correct material reference, cut pattern and agreed weight limits. | Offcuts are mixed into the charge or the material cannot be identified. |
| Axial placement | The specified coverage, end clearances and separate filling zones. | The sheet has shifted, folded back or left an unintended region uncovered. |
| Thread and restraints | The supplied stitching and documented assembly aids. | Extra binding has been added or damaged stitching has been repaired without review. |
| Insertion and closure | The defined fitting method without unexplained changes to the packing. | Closing the shell requires unplanned force or removal of fiber. |
| Internal components | The drawing's core, liners, retainers and unobstructed gas passage. | A component is missing or packing projects into a space intended for gas flow. |
Complete fastening and sealing to the exhaust manufacturer's instructions. Preserve any required spark-arresting or emissions-related components; packing material and packing retainers are not substitutes for them.
Self expanding muffler packing does not come with a universal idle time or engine-speed setting. Establish the conditioning procedure for the particular material and silencer before the trial, including the relevant measurement location, exposure conditions and cooling arrangements.
The temperature needed to release the restraint is a separate specification from the fiber's continuous service limit. Do not use a maximum-temperature advertisement as the heating target. Likewise, an outer-shell temperature alone does not establish the thermal history of every part of the filling.
Heat the completed assembly only by the prescribed method. Do not use a torch on a loose sheet or improvise a burn-off step at the workbench. Follow the facility's hot-test procedure, provide effective exhaust extraction and keep personnel clear of hot surfaces and moving equipment.
A change in smell, visible smoke or a different exhaust note is not a pass criterion for release. Treat unexpected behavior according to the test procedure and investigate it rather than assuming it is normal because the packing is new.
During development, define how the released filling will be examined. A designated inspection sample can be opened after safe cooling, or another agreed method can be used to assess the regions of interest. Plan this before testing so the observation does not depend on an improvised inspection.
Compare the core-facing region, ends, overlaps and any wider pockets with the intended distribution. Record restricted areas and persistent gaps. A full-looking opening at one end is not evidence that the complete chamber has the required coverage.
For repeat production, agree which controls must be recorded for each part or batch and which checks belong to the validation or sampling plan. This may include material identity, cut-piece weight, layout confirmation and defined conditioning records. Do not assume every finished silencer must be opened for inspection.
Evaluate acoustic performance and retention using the program's agreed tests. Successful installation is necessary, but it does not establish a particular noise reduction, service interval or regulatory result on its own.
For repeatable exhaust packing sheet installation, prepare a short instruction linked to the material and drawing revision. Include the cutting orientation, weight basis, starting position, seam arrangement, permitted restraints and closure method.
A practical photo record shows the prepared core, the wrapped component before insertion and the completed cold assembly. Add the trial inspection record separately rather than presenting a production photograph as proof of post-heating distribution.
Note any special treatment of stepped shells, end spaces or multiple packing zones. Where the sheet requires repeated adjustment at the station, review the supplied dimensions or the assembly route before accepting that adjustment as normal work.
Projects still choosing between material formats can use the comparison of expanding exhaust packing and loose-fill production processes. A well-defined installation method should follow the selected process, not compensate for an unsuitable one.
Only where the cutting method and final quantity are defined for that construction. For repetitive assembly, a controlled cut pattern is preferable to unmeasured trimming after wrapping. Check the remaining fiber charge and stitching whenever the final piece changes.
Do not treat ordinary tape as universally suitable. Use the specified assembly aid and placement, or request clarification where none is defined. The choice must account for both initial handling and the material's intended release.
Do not assume that a released sheet can be handled as a new compressed component. Check its condition and the exhaust manufacturer's replacement guidance. A new-production assembly specification should not be used to approve reused material automatically.
Record the material identification, installed quantity, cut layout, added restraints, heating conditions and location of the gap. These distinguish possible quantity, placement or release issues. Do not diagnose the cause from the word "expanding" on the packaging.
For a BSTFLEX expanding muffler packing sheet inquiry, send the silencer cross-section, core and shell dimensions, effective packed length and intended insertion method. Include the existing material specification and filling weight, sample quantity and expected production demand.
Where installation is the problem, photographs of the cold trial and a description of the snagging, shifting or closure issue are particularly useful. State whether you need material for in-house cutting or want to discuss cut components for a repeat assembly.
Review the BSTFLEX heat-released fiberglass packing sheet and the OEM muffler packing manufacturing service for product and development options. Other exhaust silencer infill materials are available where a different construction is required.
Request Expanding Exhaust Packing Samples for an Installation Trial

No.10, Chuangxin North Road, Nanshan Park, Ningguo Economic and Technological Development Zone, Ningguo City, Anhui Province, China
Tel/Whatsapp : 0086-15856303740
Email : sales@bstbraidedsleeve.com
Skype : vanesa-cheng